Difference between revisions of "Annotated Playthrough Demonic Library"
| Line 1: | Line 1: | ||
=Summary= | =Summary= | ||
The Demonic Library is arguably the easiest Vicious dungeon. On the over-dungeon are 5 fairly easy level 10 bosses, each with a special ability and each in a fixed location. Once you beat these bosses you gain access to the subdungeon where the final boss waits, the Avatar. I will play as a Gnome Warlord, focusing on items and preps for damage while using my god and racial ability for survival. | The Demonic Library is arguably the easiest Vicious dungeon. On the over-dungeon are 5 fairly easy level 10 bosses, each with a special ability and each in a fixed location. Once you beat these bosses you gain access to the subdungeon where the final boss waits, the Avatar. I will play as a Gnome Warlord, focusing on items and preps for damage while using my god and racial ability for survival. | ||
| + | |||
| + | =Strategy Changes resulting from Game Changes= | ||
| + | |||
| + | Since making this guide, gold and the tri-sword were nerfed. Happily this isn't a large issue, just use your gold sparingly in shops, saving most of it for tri-sword power-ups. Your translocation spell will get you one item, and usually you only see one or two items you might want from shops anyway. After you beat one of the first bosses you will have plenty of gold to sling around, doing whatever you want with it. | ||
=Main= | =Main= | ||
Revision as of 04:19, 22 April 2012
Summary
The Demonic Library is arguably the easiest Vicious dungeon. On the over-dungeon are 5 fairly easy level 10 bosses, each with a special ability and each in a fixed location. Once you beat these bosses you gain access to the subdungeon where the final boss waits, the Avatar. I will play as a Gnome Warlord, focusing on items and preps for damage while using my god and racial ability for survival.
Strategy Changes resulting from Game Changes
Since making this guide, gold and the tri-sword were nerfed. Happily this isn't a large issue, just use your gold sparingly in shops, saving most of it for tri-sword power-ups. Your translocation spell will get you one item, and usually you only see one or two items you might want from shops anyway. After you beat one of the first bosses you will have plenty of gold to sling around, doing whatever you want with it.
Main
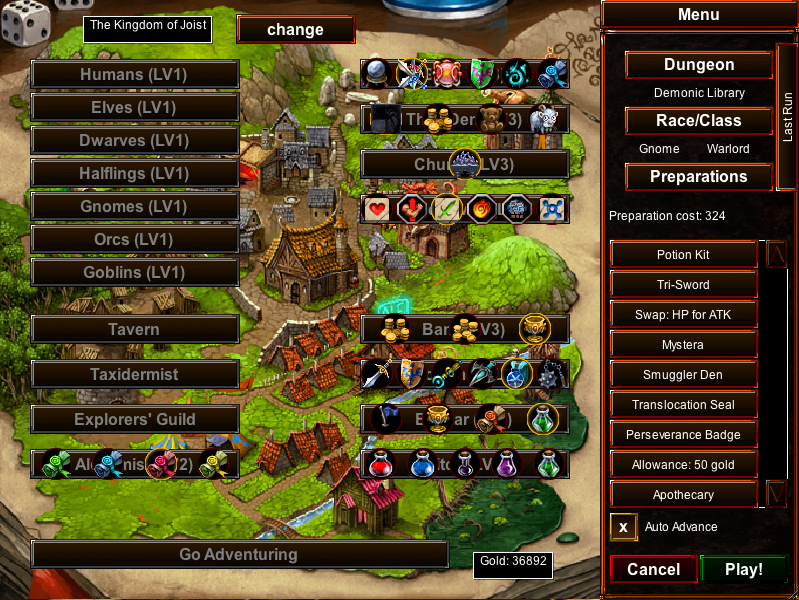
I will be taking all the preps I can, it is a vicious dungeon after all. Everything I use should be accessible to a player who has completed all the Hard dungeons.
First off I'll take in the Tri-Sword, if you don't have one lockered you can take a tinker into Gaan to scum one quickly. The tri-sword is great for physical builds and it will work well with our racial talent of creating extra potions. It'll give us a huge base attack damage boost so for the rest of the preps I will go for attack percentage boosts which will combo off each other.
I like the Smuggler's Den, it puts some boosters in a fixed location and gives you some dark tiles to use later on. Some people prefer Patches, if you take Patches take a burn salve with you and convert Patches as soon as he gets on your nerves.
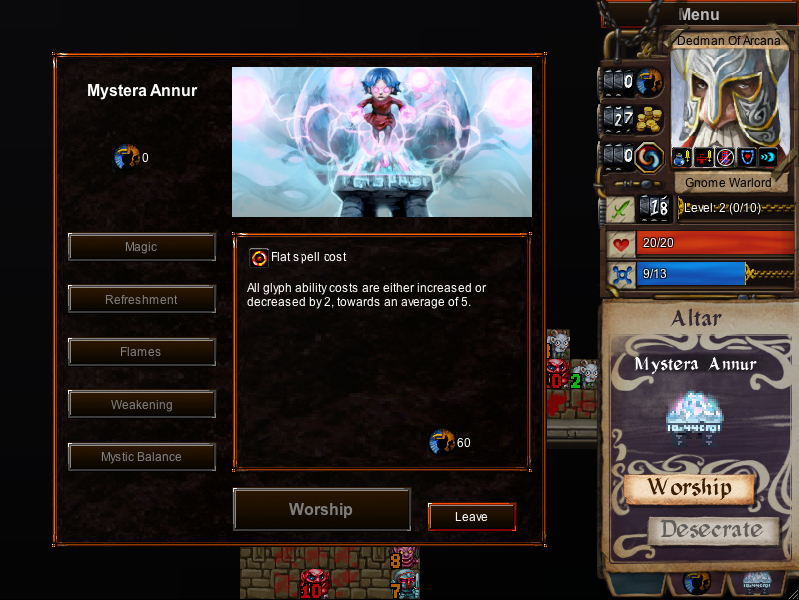
Mystera Annur is the god we want. She is integral to this build so we will prep her directly, luckily we can completely ignore her prep penalty. The boons we will take, in order, are Mystic Balance to get our CYDSTEPP down to 8 mana, then enough Magic's to reach 16 mana, then refreshment.
We'll take HP to Attack because, as a CYDSTEPP'er, we don't really need the HP and the attack percentage bonus works well with the tri-sword. Prep the Perseverance badge for the same reason and 50g.
Potions have a side-effect for us of increasing our damage so we'll prep the Apothecary. For potions we'll take a WHUPAZ for the final boss, a schadenfruede potion which will give us two extra CYDSTEPPs and a Fortitude Tonic to cure our weakness.
Finally take the Translocation Seal, a generally useful seal if you don't need the Compression Seal to free up storage space.
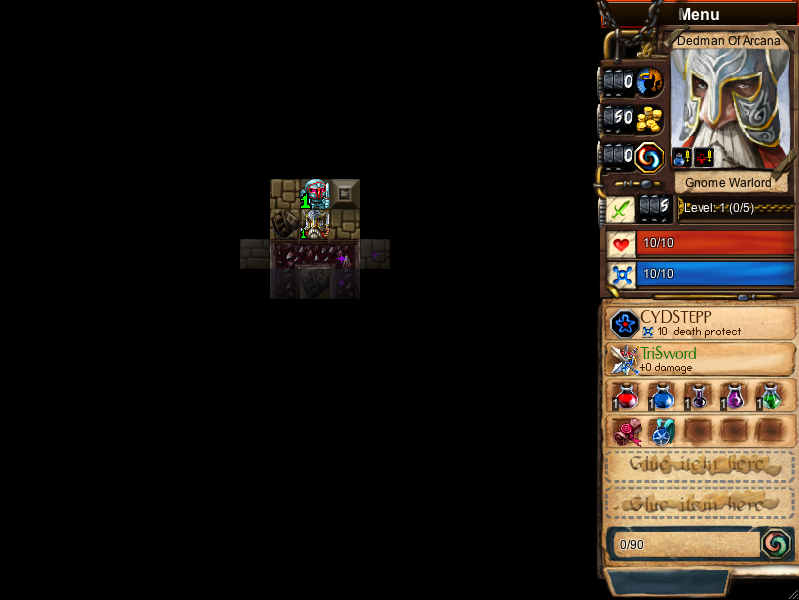
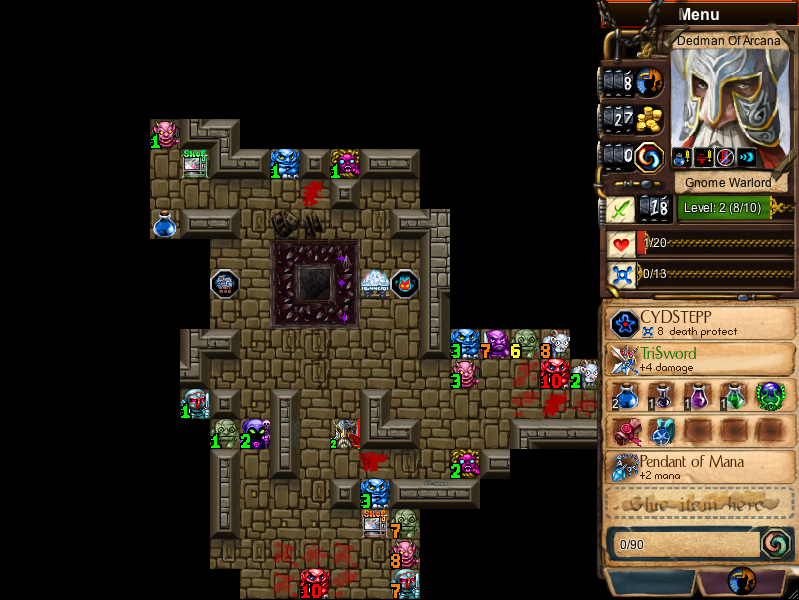
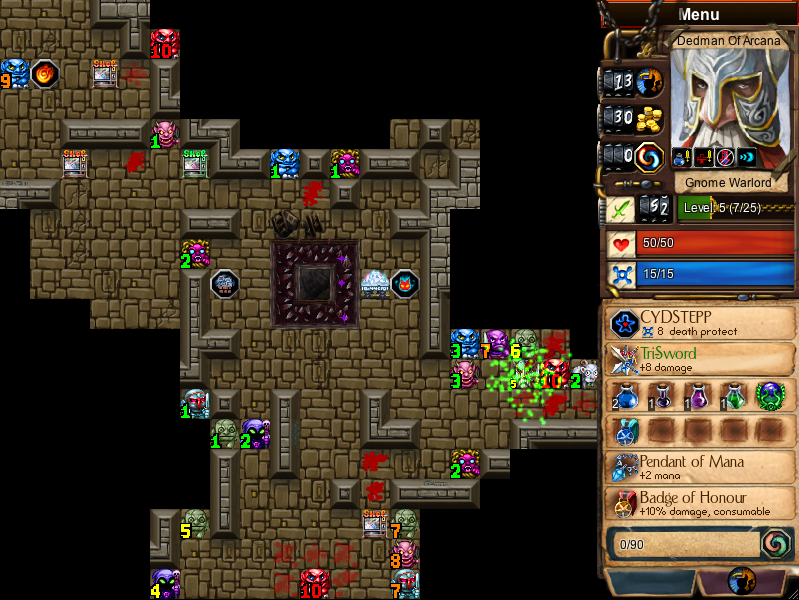
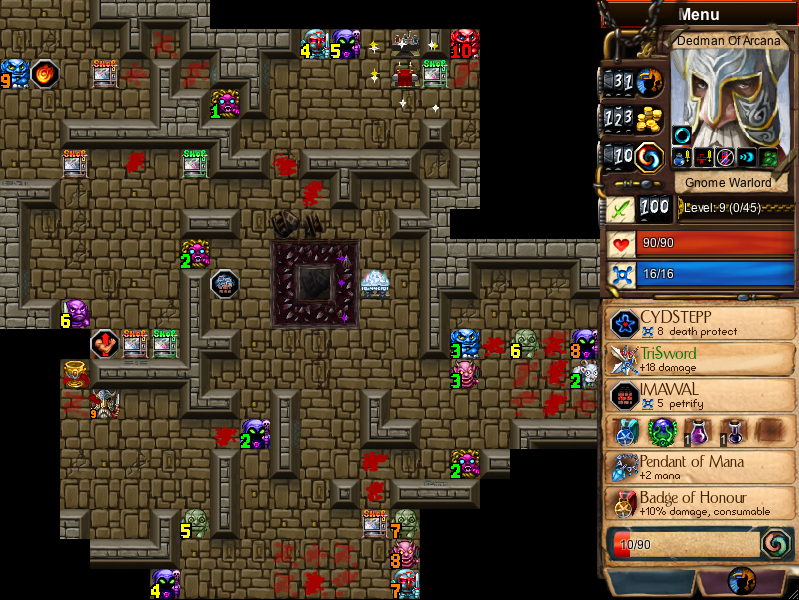
Here we are, I see MA's altar to the right so I head for it.
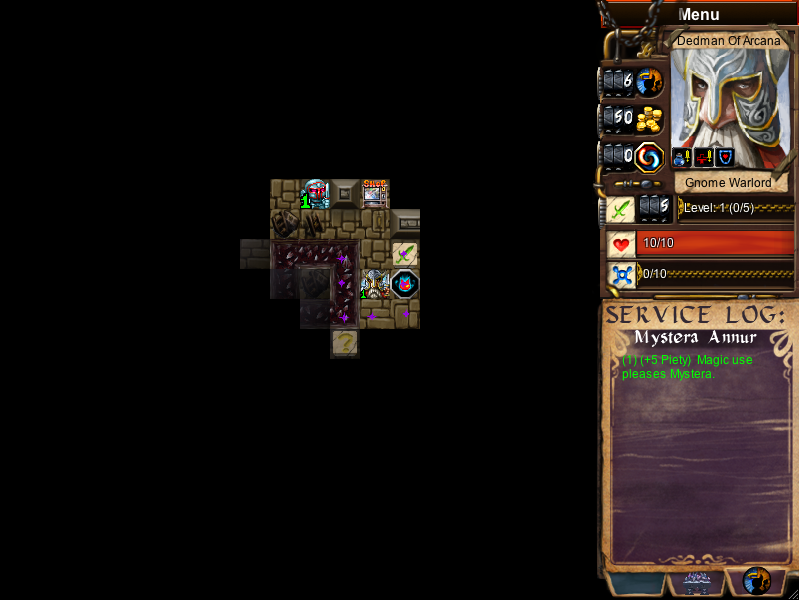
I didn't cast CYDSTEPP until I was a worshipper of MA, that gives you slightly more piety for the spell.
I explore downwards while regenerating mana from my CYDSTEPP cast. The goal is to always be regenerating mana and continually casting CYDSTEPP for MA piety. The easiest way to facilitate this is finding a high level mob and hitting it occasionally, breaking your death protection and allowing you to recast it.
I can't see a worthwhile mob to fight so I may as well attack that level 1 AA.
A quick note on fighting as a Warlord. You will want to enter combat with full mana and an active death protection. You do not need full health, in fact low health can help as it gives you bonus damage.
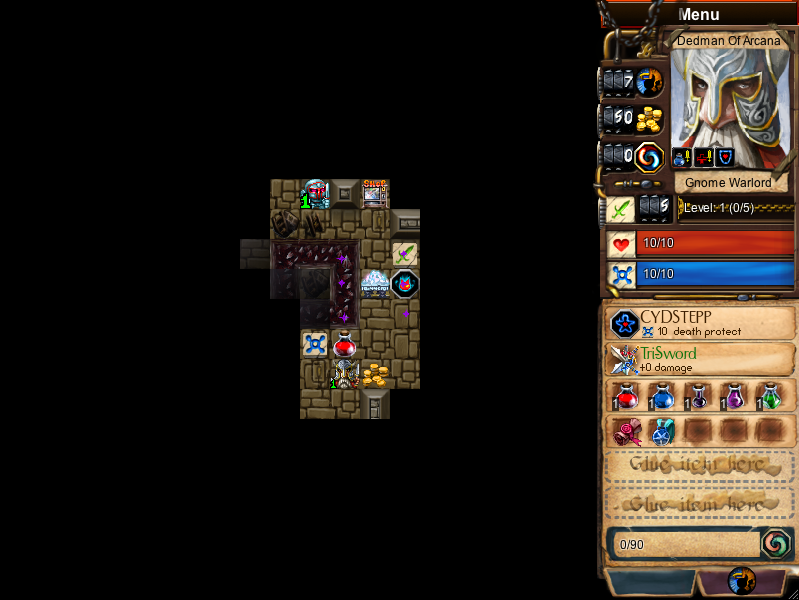
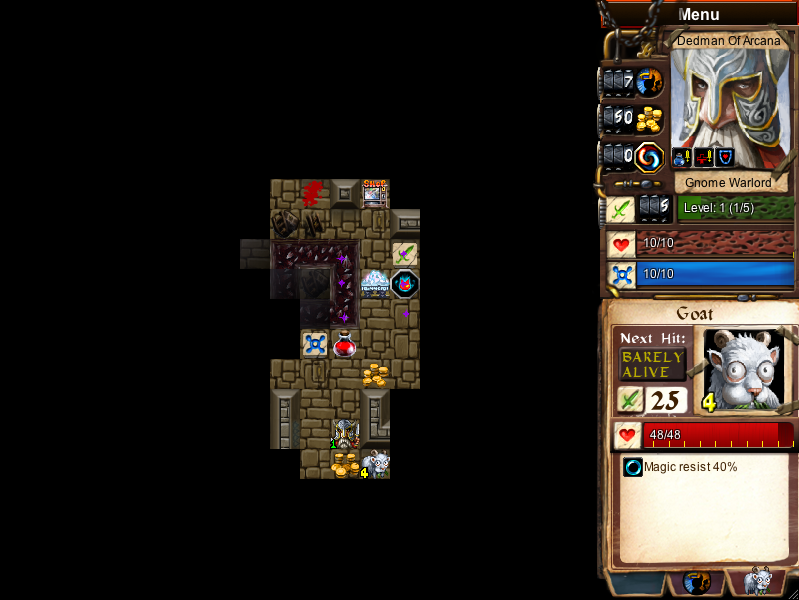
After killing the level 1 AA I explore downwards and find a level 4 goat. I can hit it to break my death protection, allowing me to farm some piety while I pick up the items. From now on whenever I am exploring assume that I am farming piety by recasting CYDSTEPPS.
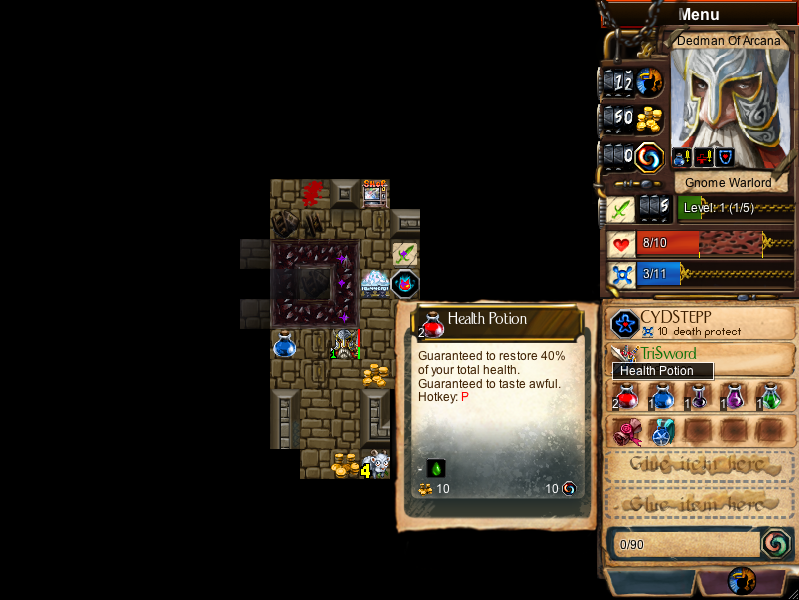
Health potions are not something we'll be using in combat, we'll drink them instantly for the damage boost they give to the tri-sword.
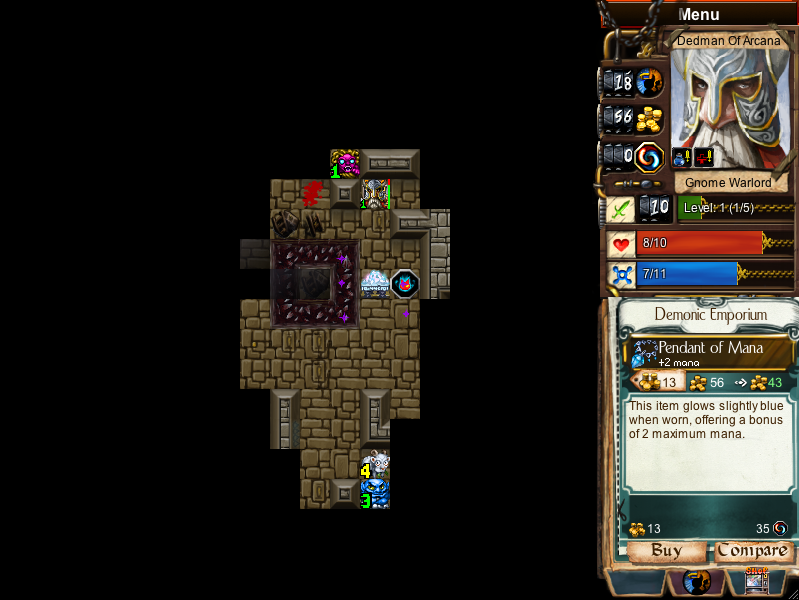
I explore north and find a shop containing the Pendant of Mana. This is a very useful item for us as it allows us to skip some MA boons. I buy it instantly.
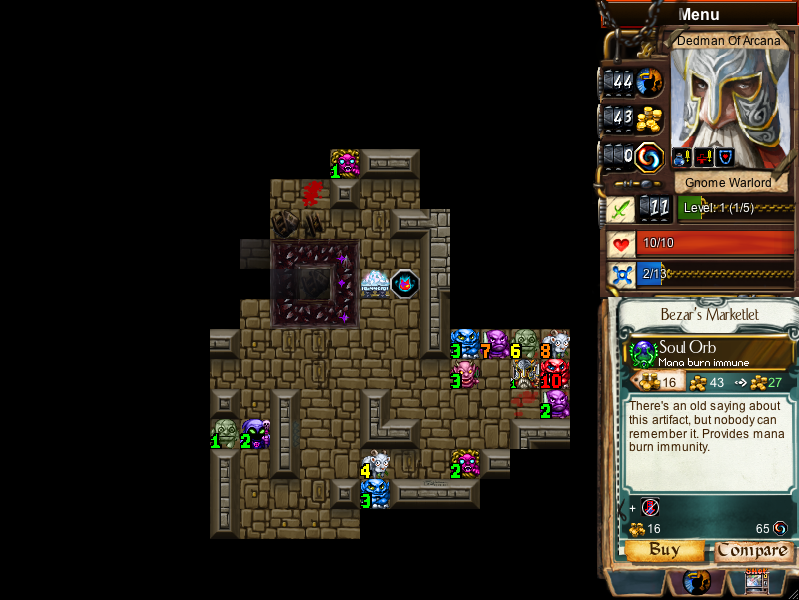
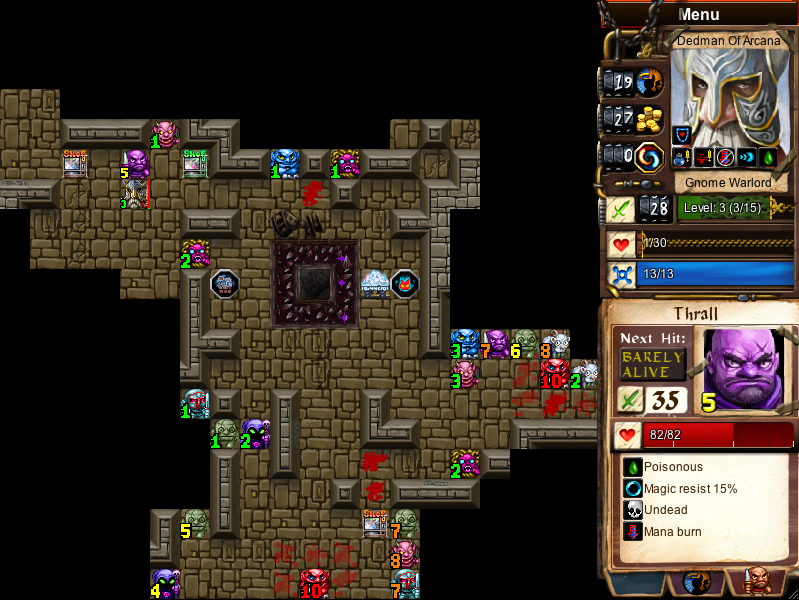
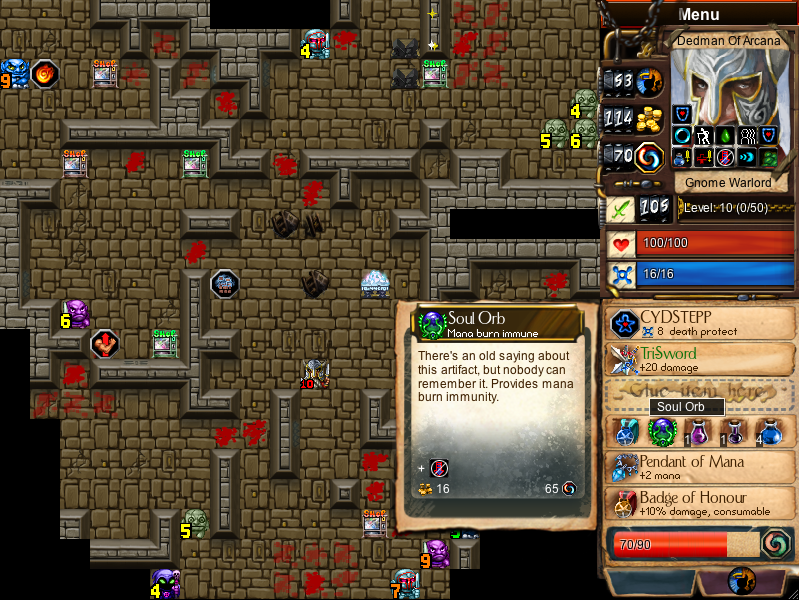
After exploring some more I find a boss and a shop containing the Soul Orb. Another useful item, it allows us to fight Thralls without getting mana burned. I buy the Soul Orb and kill the level 2 Thrall.
Some further exploration gets me to the 60 piety I need for Mystic Balance. This reduces CYDSTEPP to 8 mana per cast.
With the cheaper CYDSTEPP I can attack and kill the level 4 goat.
After some exploration I find a level 5 Thrall, a perfect target. I kill it.
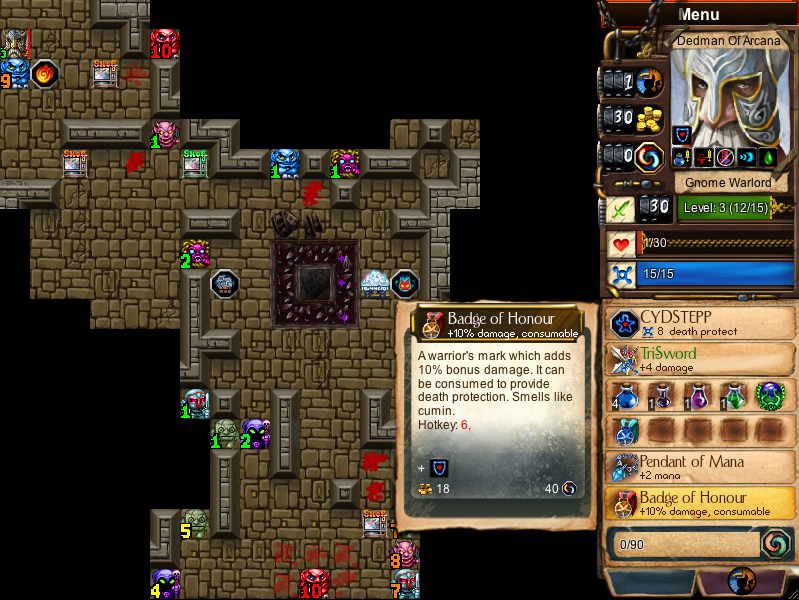
While regenerating mana I find a shop with the Badge of Honour. This item gives us the bonus attack percentage we want while also being consumable for another death protection.
I kill the level 8 Goat using two mana potions in the combat. Don't be afraid to use mana potions if you have a good opportunity for level advancement. The provide a permanent power boost through the Tri-Sword so using a few early can be a smart play.
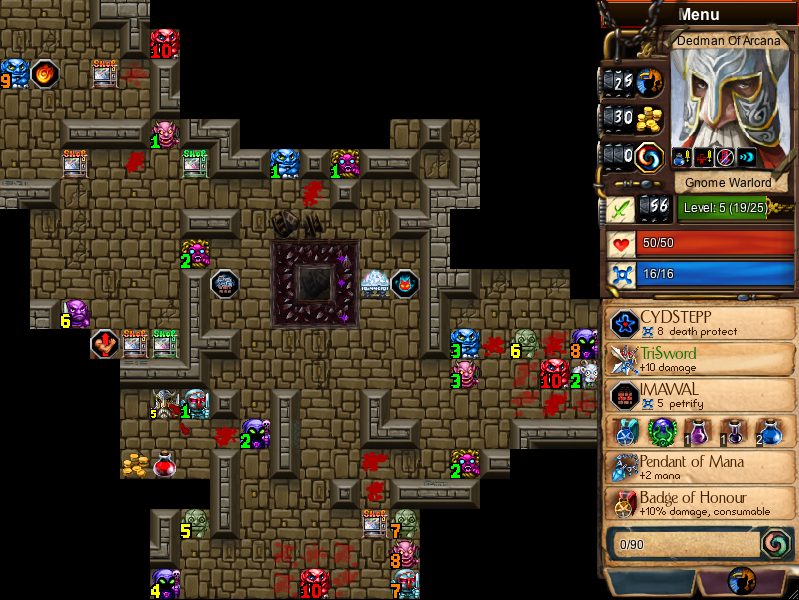
I kill the level 7 Thrall, explore a bit and find IMAWAL. This glyph is great while levelling as it provides bonus experience. To make space for it I drink my Fortitude Tonic. I also hit 16 mana, allowing me to cast 2 CYDSTEPPS in combat.
I IMAWAL the level 1 AA, only sacrificing 1 experience and kill the bottom boss. He is poisonous and has a magic strike, neither scare us. This boosts us all the way up to level 7.
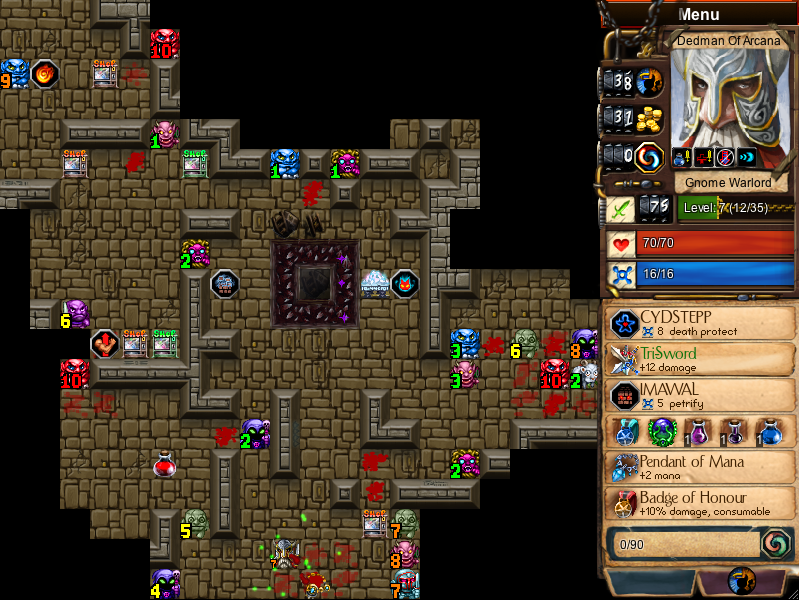
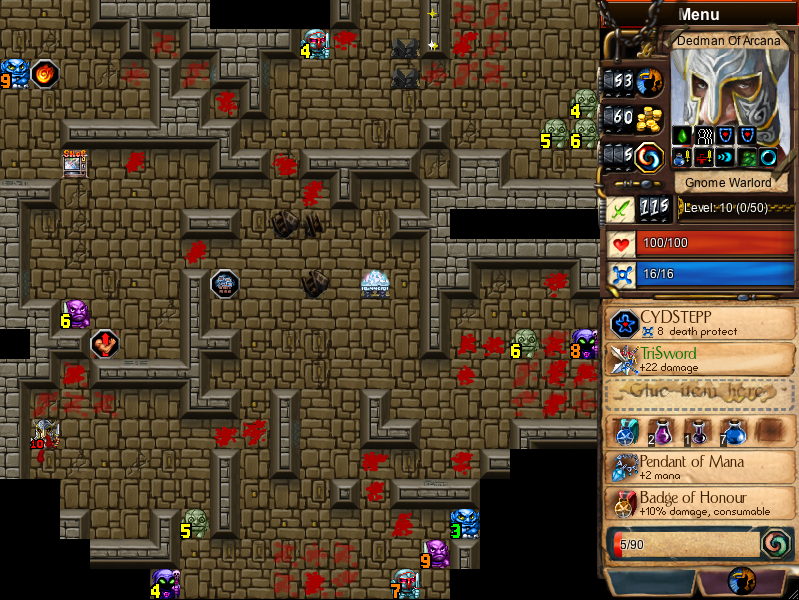
I kill the right boss who lowers resists, of which we have none, and the top left boss, who corrodes. Corrosion doesn't worry us either since we are getting 1-shot anyway. For each boss I use IMAWAL on a level 1, increasing experience gain by at least 4.
I kill the left boss next, he has twice as many hitpoints as the other bosses. The top boss has normal hitpoints but 50% physical resist. This makes both bosses equally beefy to us but the top boss also has weakening so we go for the easier prey first. In the process I grab refreshment from MA, which gives me an extra death protection for converting a glyph, and convert WANNAFYT. I then kill the top right boss who weakens me.
The path to the main boss has been opened but first I'll finish looking around the top. I find a Keg O'Mana, perfect for us, instance buy.
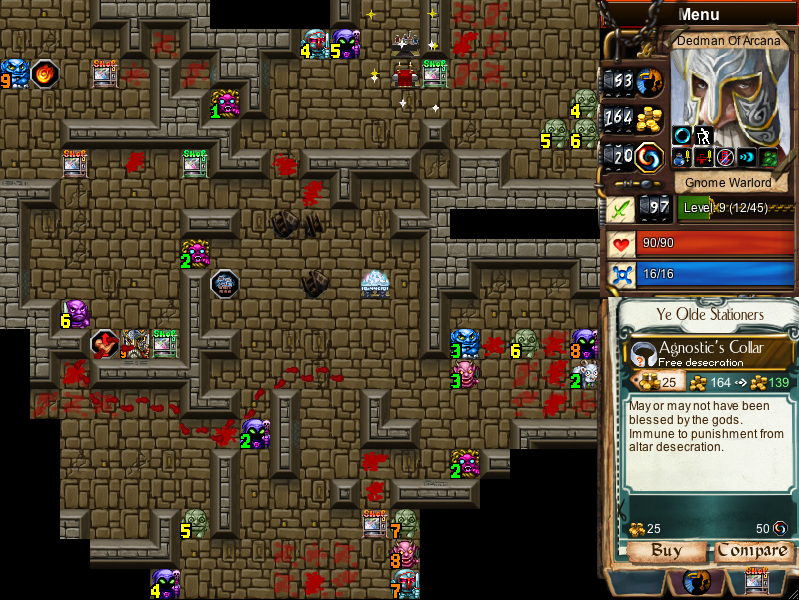
This shop has the Agnostic's Collar which allows us to desecrate altars without punishment. We already have all the boons we want from MA, buying this item will allow up to do some god shenanigans and grab Poison from Tikki Tooki. This boon is very desirable but is hard to use properly while following TT. We will need to convert into TT, grab the boon and convert out.
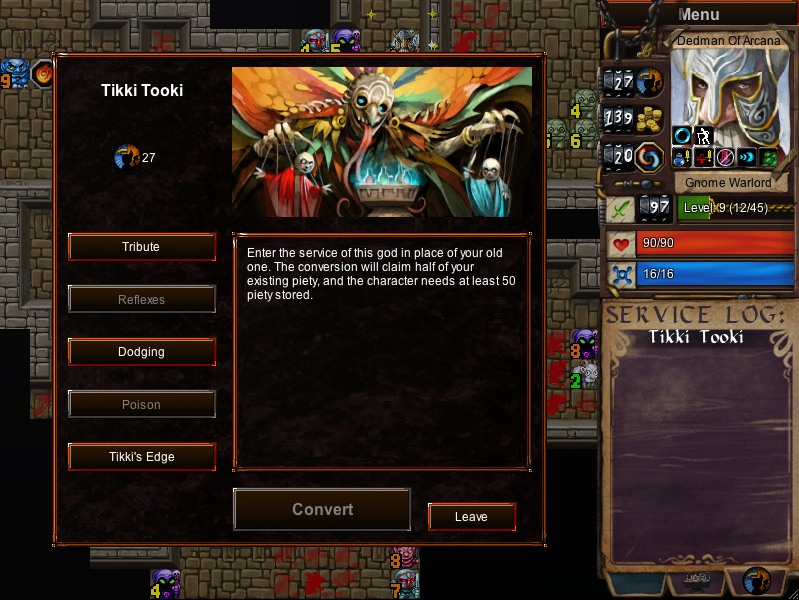
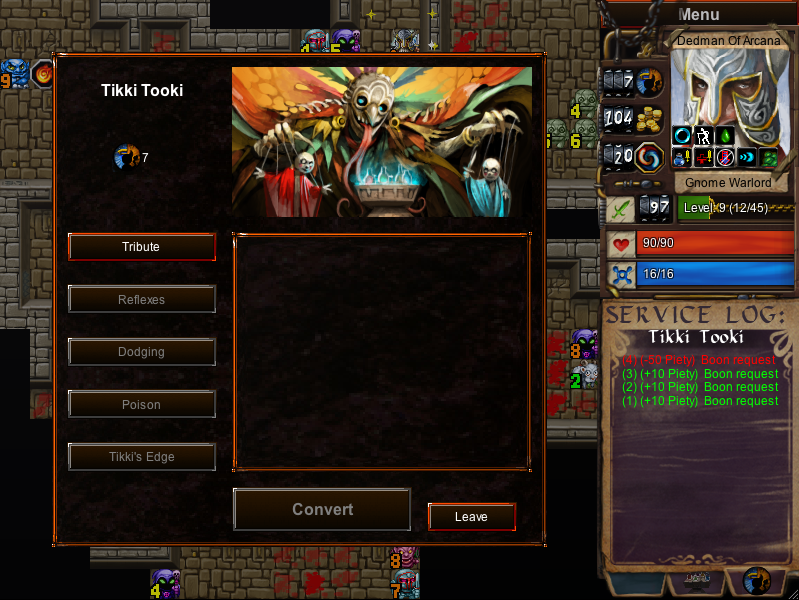
I convert to TT, halving my piety.
I use the boon Tribute to convert 45 gold to 30 piety, enough to get Poison (50 piety). Now I need to get another 50 piety to convert out of TT.
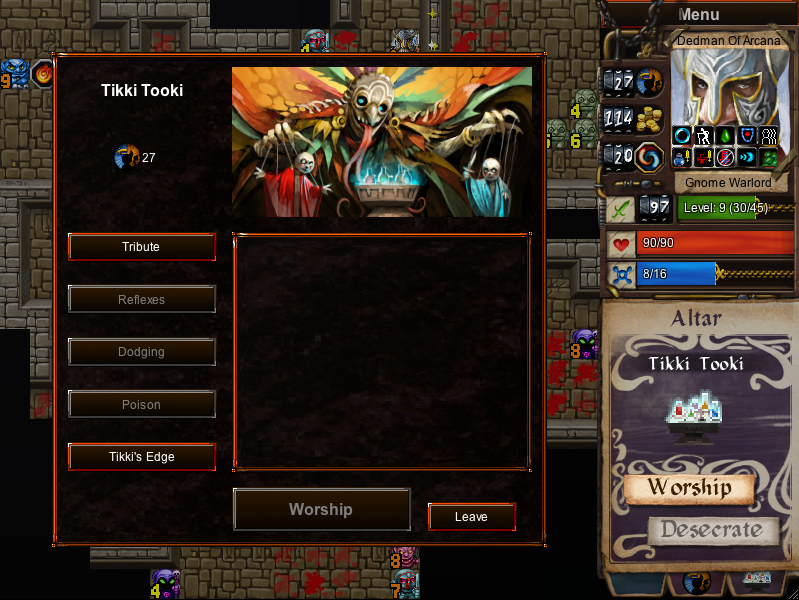
TT grants piety for killing lower level mobs but takes piety for getting hit by the same mob more than once. I go around the level killing all the enemies I can kill with one shot. This gives me 52 piety, enough to convert out but I realise I have plenty of piety so I take the Dodging boon for 25 piety, leaving me on 27 piety. I then desecrate Glowing Guardian's altar safely because of my Agnostic's Collar, giving me 30 more piety.
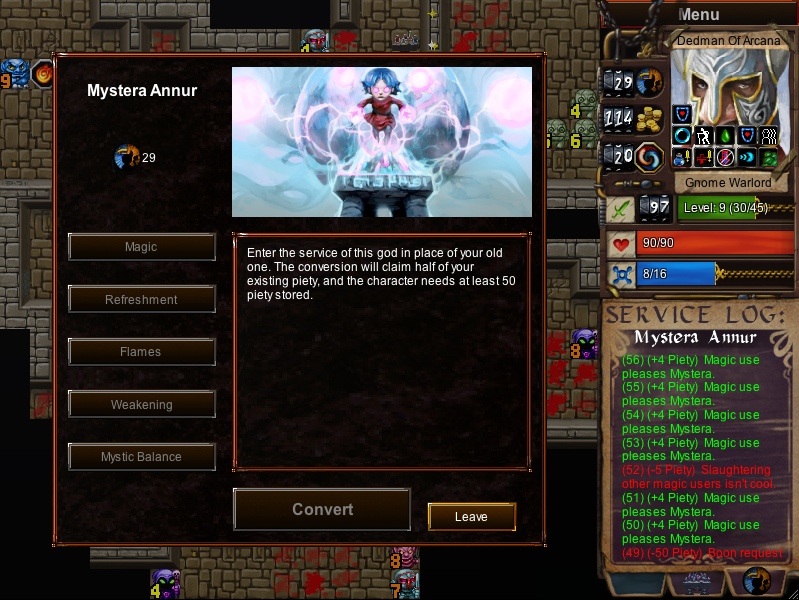
I convert back to MA and then desecrate TT's altar for good measure before converting the Agnostic's Collar.
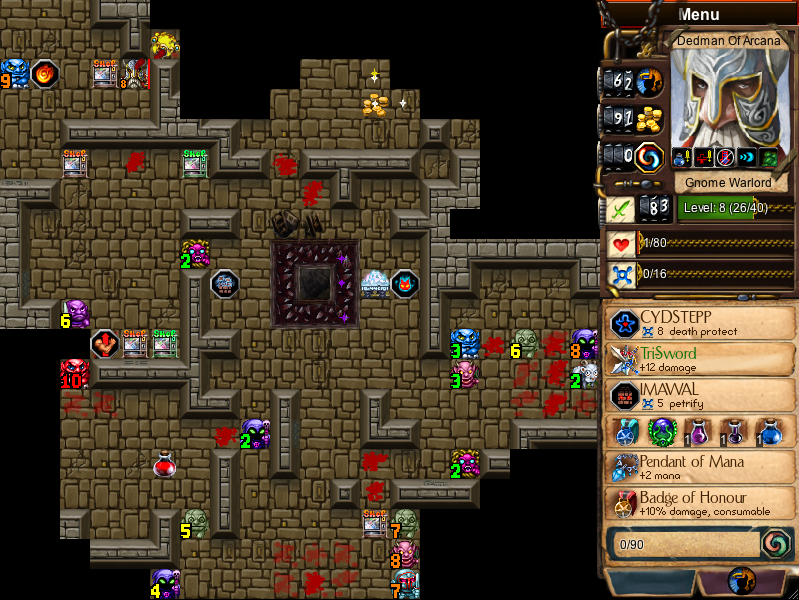
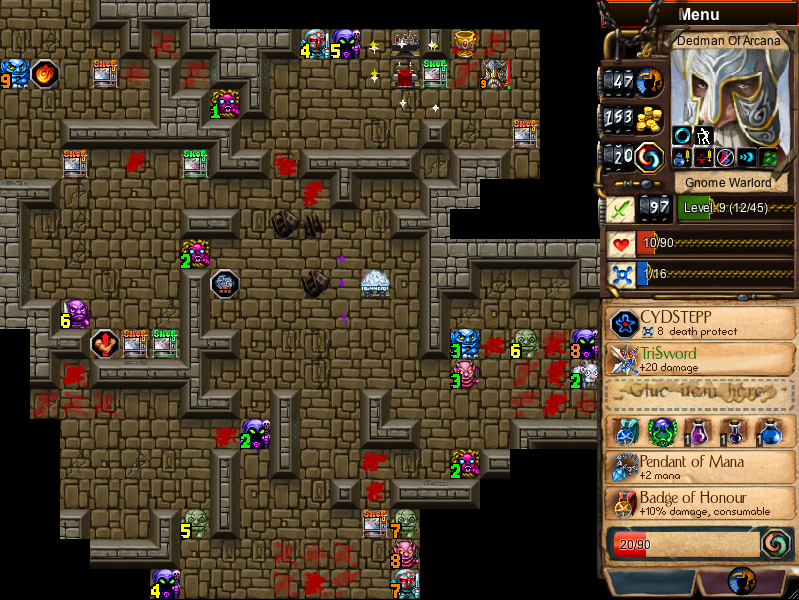
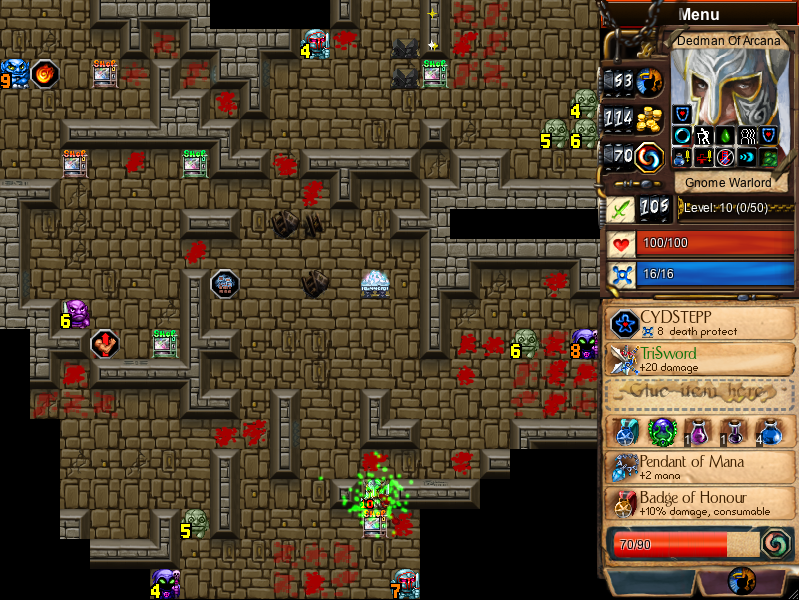
I clear up enemies until I hit level 10. Now I'm finished with the top-dungeon it's time to take stock of my resources and make my next move.
I won't need my Soul Orb as the Avatar doesn't have Mana Burn so I convert it.
I'm weakened so I buy another Fortitude Tonic from an Apothecary, curing my weakness. I use the other two Apothecaries to buy a second Schadenfruede and another mana potion. I also buy up all the items with high conversion points and convert them for more mana potions.
Silly me I completely forgot to grab the boosters from the Smuggler's Den, I do so now.
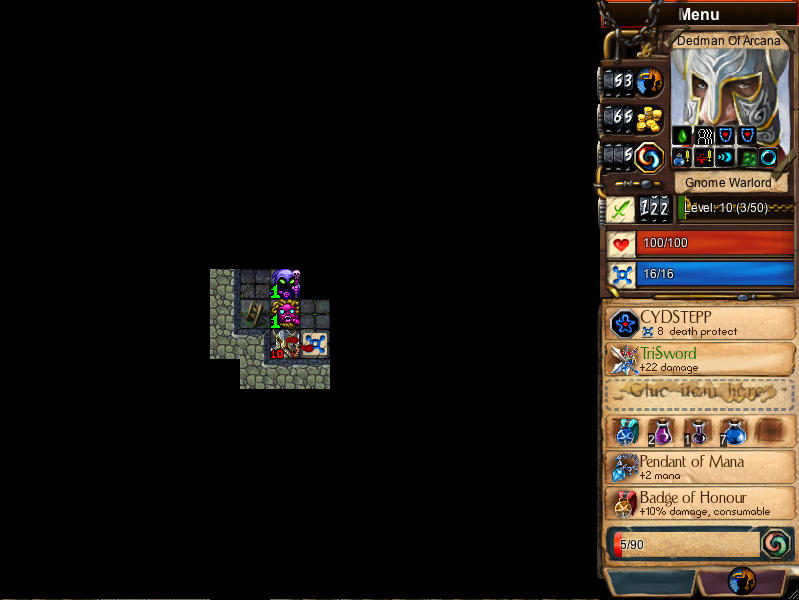
I could probably beat this boss using poison and regen fighting alone but we won't get TT every run so I pre-explore all the dark tiles and leave poison sheathed.
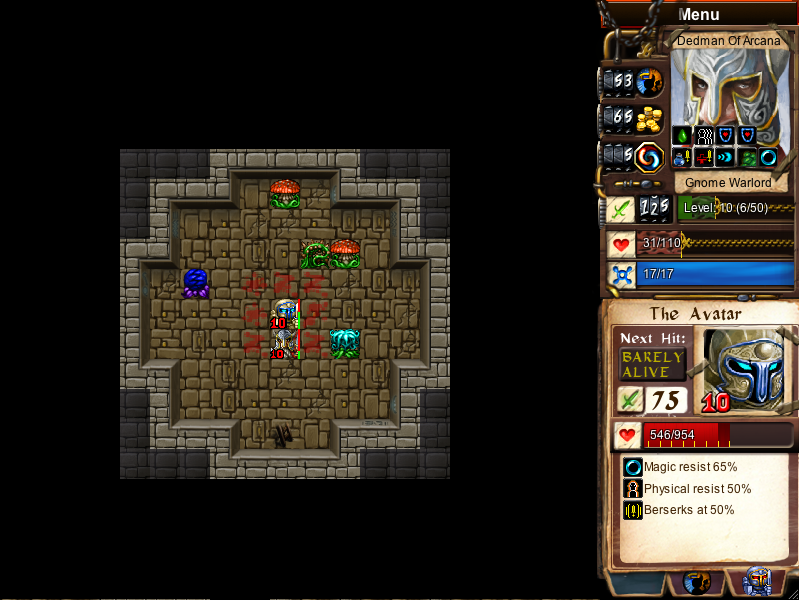
I drink my WHUPAZ and make the first hit.
The resources we have left are a bunch of mana potions, which each give 6/8s of a death protection, two schadenfreude potions, which each give 2 death protections and 3 glyphs on the top level to convert, each giving 1 death protection.
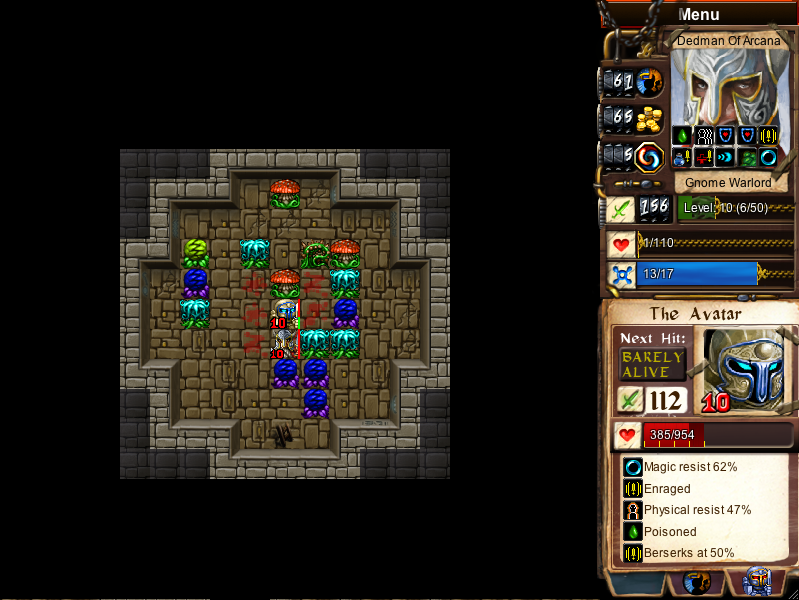
I will use the mana potions first. They provide the least amount of death protections and also give us +2 damage. On top of that Warlords get the Might buff when they drink a mana potion so using the mana potions will erode the Avatar's resistances. Next I would use the schadenfreudes and finally the glyphs. This maximises the damage gained through the tri-sword.
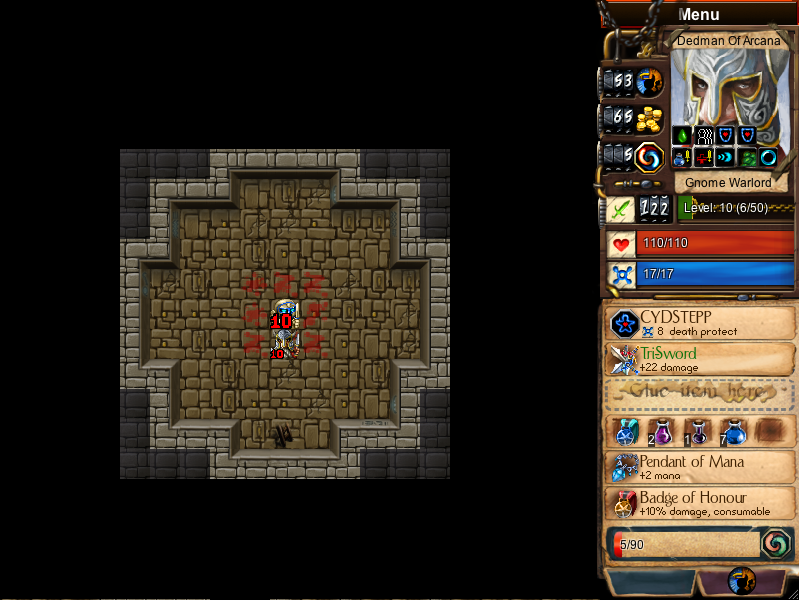
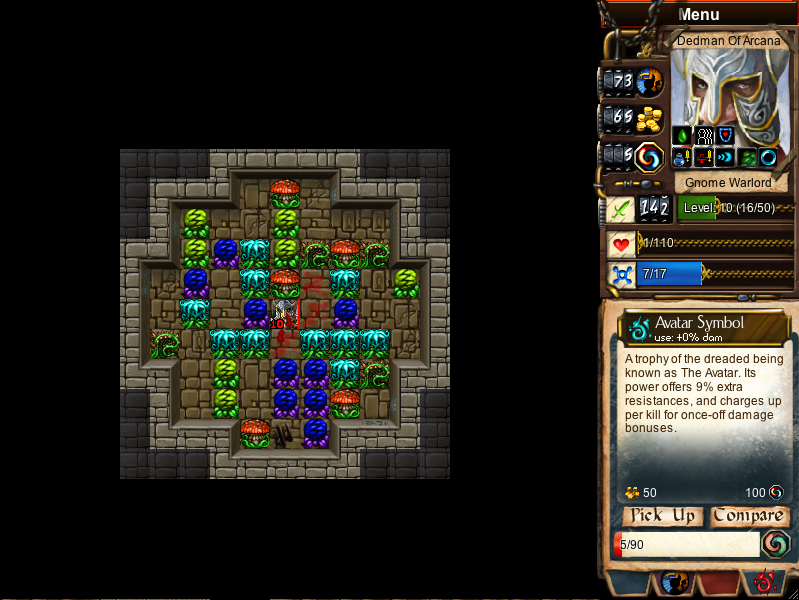
5 mana potions was all I needed, I didn't even touch the schadenfreude potions or the glyphs.
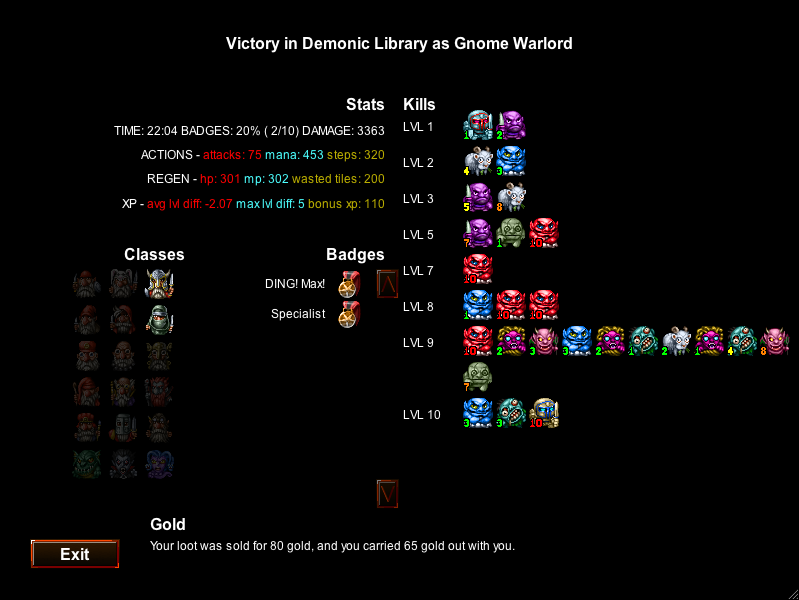
Hurrah.
