Difference between revisions of "Annotated Playthrough Rock Garden"
(Created page with '== Annotated Playthrough of Rock Garden - Physical Damage Specialist == The Rock Garden scenario is one of the earliest "hard" difficulty dungeons a player may encounter, and is…') |
(No difference)
|
Revision as of 00:39, 5 March 2012
Annotated Playthrough of Rock Garden - Physical Damage Specialist
The Rock Garden scenario is one of the earliest "hard" difficulty dungeons a player may encounter, and is one of the only ones featuring a total of three bosses. Specifically, two of these bosses are the brothers of Earth and Stone, which respectively have 75% magic and 75% physical resist. In this demonstration, I will play as an Elf Warlord who uses only physical attacks to prevail. This means I will convert BURNDAYRAZ on sight. The Warlord is one of the most powerful classes in the game, and well-suited to any physical-specialist approach. Generally speaking, you should play as an Orc, Elf, or Gnome when playing as a Warlord, and the HP->Attack booster swap is highly recommended.
For preparations, I select the Crystal Ball item, HP->Attack booster swap, 25 gold allowance, and (this is very important) the really big sword from the blacksmith. This item allows physical damage specialists to overcome foes with high resistances, and I will use it to defeat the Brother of Stone. However, it comes at a price, and I will always strike last in any combat against monsters, even if they are lower level than me. I will eventually want to convert this item so I do not continue to suffer its penalty, but I will first need to defeat the physical-resist boss.
Normally as an elf you would prepare a Schadenfreude potion and the apothecary shop preparation, but I will not be using this incredibly powerful combo since many players may not have these items unlocked at this stage in the game.
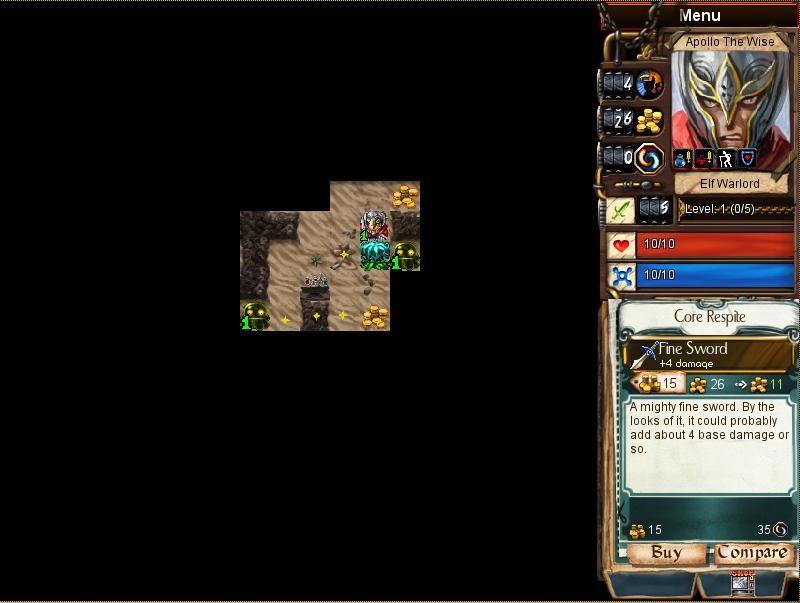
This is a pretty nice find for an Elf Warlord. The biggest problem Elf and Gnome Warlords have is making up for their low damage, and this fine sword should keep me on top of things until I find those extra attack power-ups I prepped. Raising your damage is always a great idea, and this early there's almost never a reason to say no to a fine sword! I ignore the altar of Tikki Tooki; he's very difficult for a Warlord to use effectively, but may have some use later on.
Right now, I'm concerned about finding a glyph – any glyph – so that I can start building up charges on my Crystal Ball. CYDSTEPP is not repeatable so it won't work.
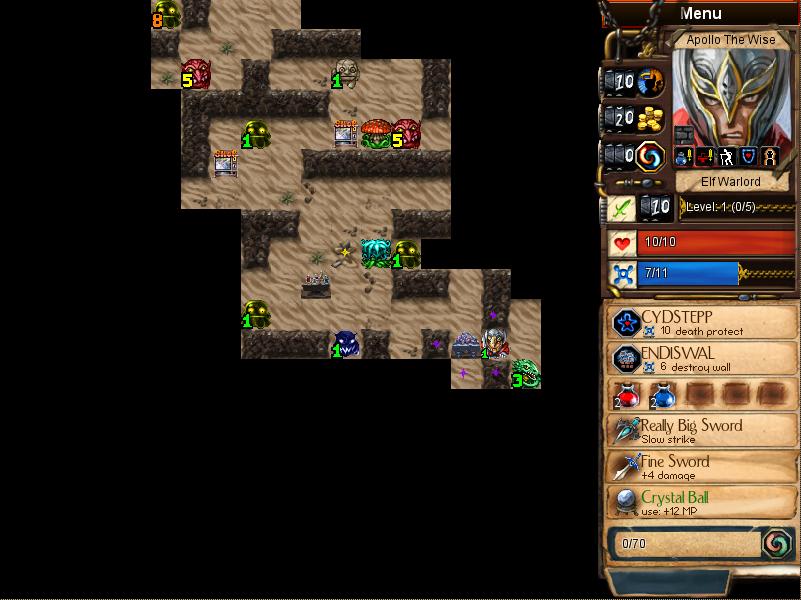
Ah, a perfect find, the ENDISWAL glyph. This will allow me to explore more easily as well as build up charges on my Crystal Ball. I locate a level 3 Dragon Spawn; this will be a perfect target for my Warlord to take down. Using my Crystal Ball to recharge my mana mid-fight, I can get three hits on him, enough for a knockout.
I also locate an altar of Mystera. As of this version, Mystera is pretty much the ideal god for Warlords, however she's in a state of flux and may be completely different in the next update. I don't want this example to be outdated in less than a week, so I sadly leave her altar alone.
After dealing with the Dragonspawn, I make short work of the two level 5 trolls using the same approach. I needed to rebuild the charges on my crystal ball for the first troll, but the second one goes down a little easier since I level up from the first.
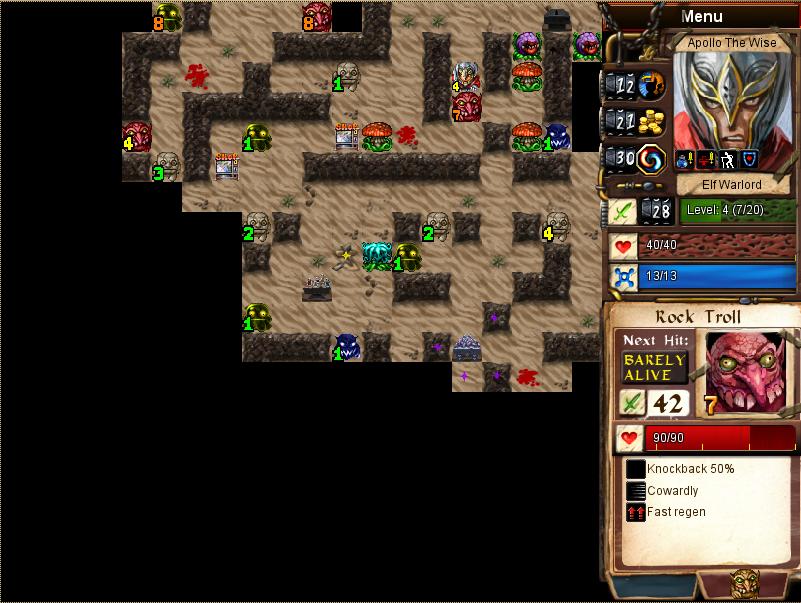
I now want to focus my attention on the level 7 troll. First of all, this combat prediction is wrong; the Warlord gets bonus damage when at low health so my subsequent attacks will be hitting considerably harder. I only need three hits to kill, not the four it appears. However, three hits means that I need to expend my crystal ball [i]again[/i]. However, I could use my ENDISWAL glyph to build up some temporary resistances to his attacks. This allows me to survive his first hit normally, then use death protection to survive his second and third hit. No crystal ball necessary.
Before the final blow, I head out and kill all the poison and mana burn plants. I've been forgetting to do this since the start of the game; they will drop useful spoons which will boost my attack damage, and after killing this powerful monster I will immediately level up.
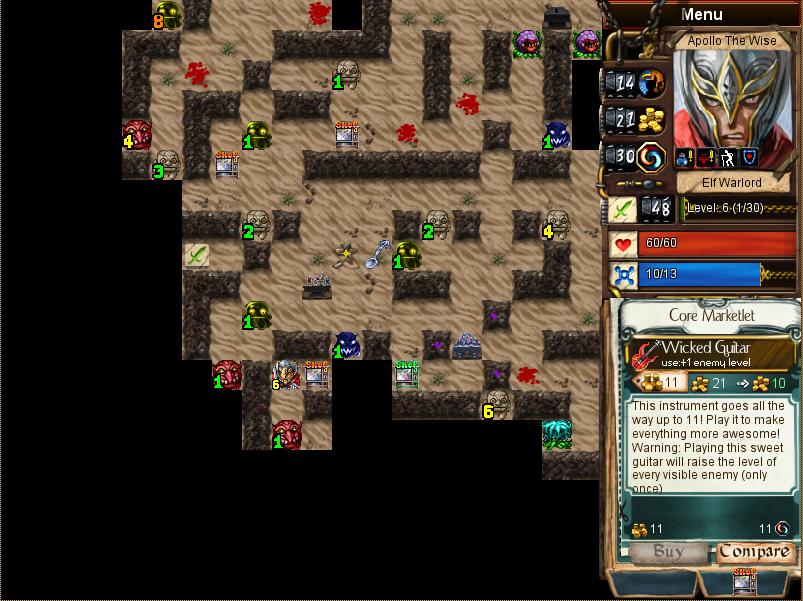
Oh my... I could pull some [i]really[/i] crazy stunts with this item. It's incredibly double-edged, but it [i]vastly[/i] increases the amount of XP you earn. I suspect most of the people who will be using this as a guide don't have this item unlocked, however, so I'll pass it up. At this point, I elect to just attack the level 8 goo blob in the corner. Goo blobs are normally difficult to take down for physical specialists, but my really big sword mitigates most of his damage resistance.
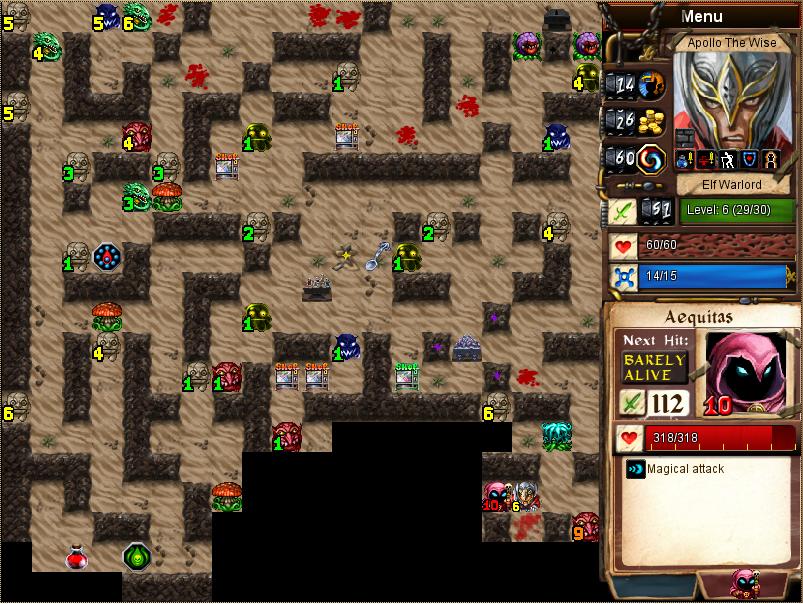
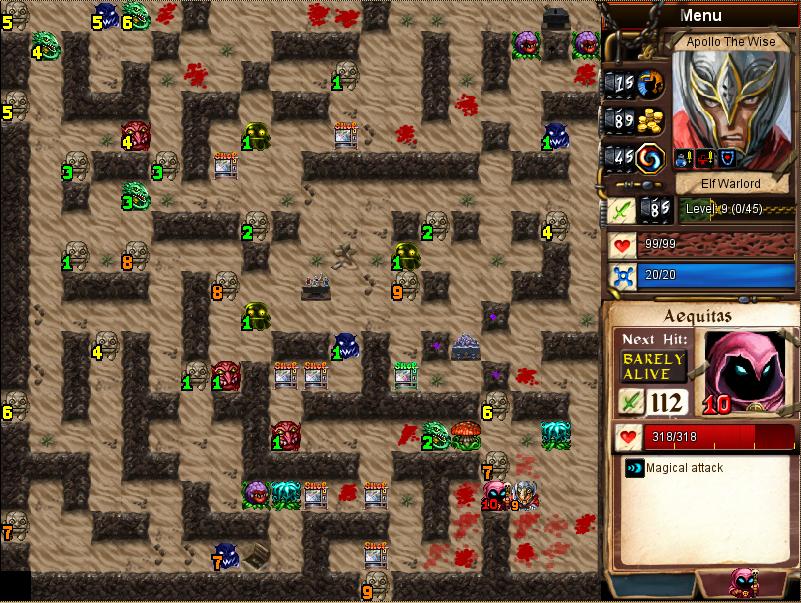
I find both BLUDTUPOWA and APHEELSIK glyphs while exploring the left side of the map, but no bosses. I leave these glyphs alone for now, and finally locate the bosses on the right side of the map. I might be able to take on Aequitas by using BLUDTUPOWA, CYDSTEPP, and APHEELSIK, but I'd much rather do battle with the Brother of Stone so I can convert this really big sword. The bosses are usually in close proximity on Rock Garden, so I take a look around before committing to a fight.
I do take the opportunity to kill the level 9 Troll, however.
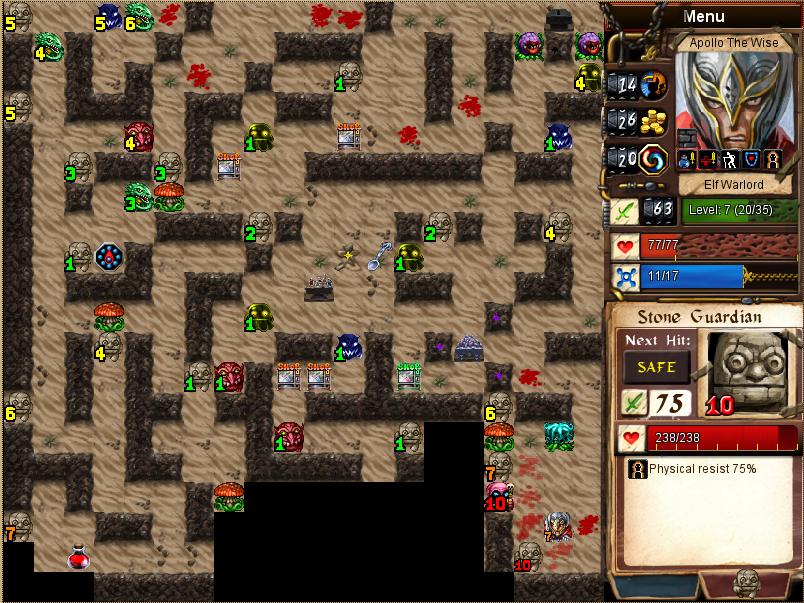
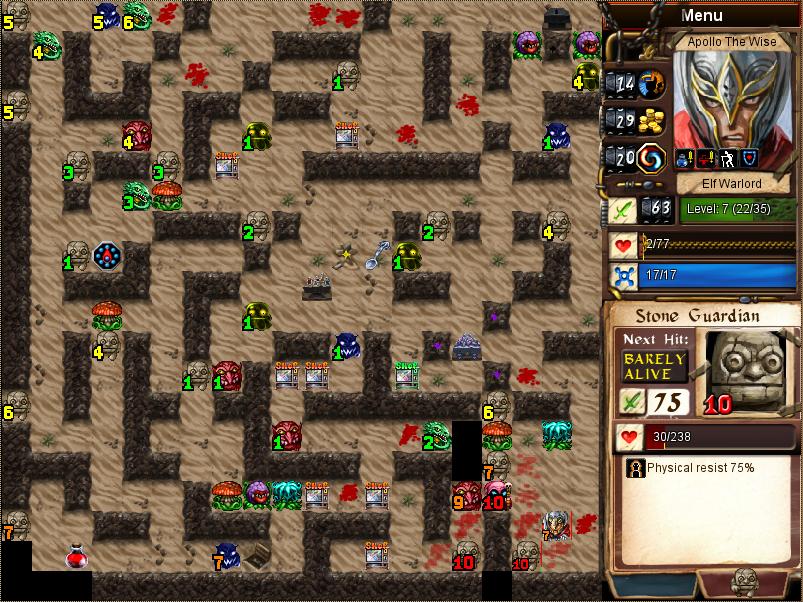
Bingo; this is the guy I wanna fight. I convert ENDISWAL (but not before punching a few holes to ensure I don't get cut off) and pick up APHEELSIK. I'm going to whittle this guy down to size with poison. Golems normally have magic resist that makes poison's effectiveness spotty, but this Guardian has only physical resist. Poison is 100% effective.
That wasn't too bad at all. I have some mana left-over so I'm going to use my remaining death protection to attack the level 9 troll and soften him up before leveling up.
I also (finally) locate the subdungeon, which I leave untouched for the time being. Subdungeons are always a bit of a gamble. Some of them are [i]very[/i] tiny and so much as entering them will reveal most of their tiles. I need to conserve every bit of explored space available, so I'm not even going to peek at this point.
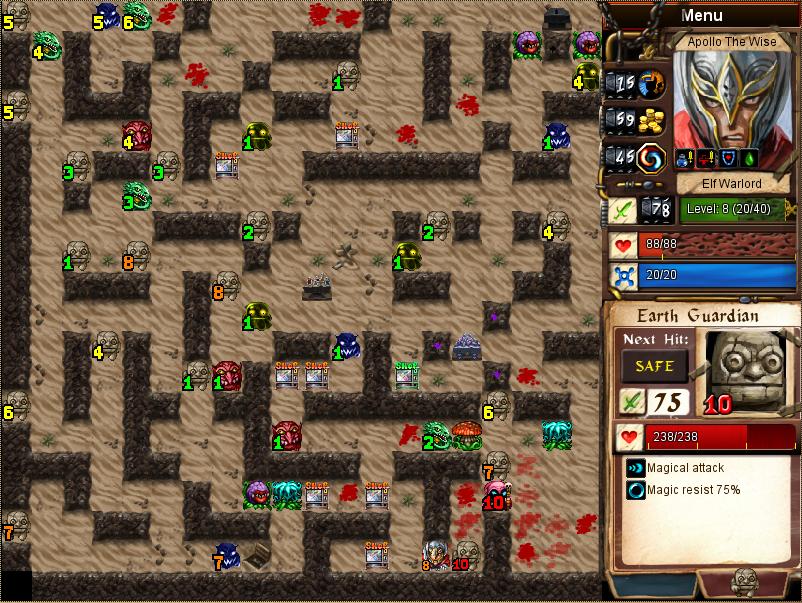
I convert BLUDTUPOWA, APHEELSIK, and the Really Big Sword, and my max MP hits the magic number 20. The Guardian of Earth here is going to get toppled easily with three strikes from my Warlord. Keep in mind that the combat prediction is wrong; my damage is going to be significantly higher on the second and third hit, so it will take fewer strikes than advertised to kill.
Now to deal with Aequitas. I cannot survive one of his attacks without death protection. This is the price of the HP->Attack glyph; a heavy hitter like Aequitas is going to 1HKO you. My crystal ball is fully charged, so I can get a total of 5 death protections for this battle. I can steamroll him that way if I want, but supposing I didn't have that luxury I do have other options.
I check the shops to see what's available. They're completely barren. Nothing to boost my damage or survivability. The best item available for sale is a pendent of mana, which isn't of much help here.
Option one is to worship Tikki Tooki and to select the Warrior's Pact from the Pactmaker. There are lots of low-level monsters lying around, so gaining piety with Tikki Tooki and triggering the Warrior's Pact will be pretty easy, which will bring my max HP high enough to survive a blow from Aequitas. I could also purchase a Reflex potion from Tikki Tooki to get a "first strike" in at the end of combat. I do need to be cautious with Tikki Tooki since he will punish the use of CYDSTEPP, but he dishes out enough piety that I should still be able to stay in the positives (I can always tribute gold to keep him happy).
If any were present, Dracul (blood shield or blood hunger), Glowing Guardian (absolution), Jehora Jeheyu (boost health), or even Taurog (Taurog's Helm) would allow me to purchase defensive boons to survive Aequitas. Binlor can also be used to gain magic resistance, but you usually need to begin worship with him earlier to pull that off.
Another option to kill the corrosive creepers and pick up their spoons to boost my damage, allowing me to kill Aequitas in only three hits. The corrosion is irrelevant at this point; Aequitas will 1HKO me anyways, and getting the job done in one fewer attack is a benefit.
And of course, all this is without even touching my potions. I could always just gulp down those mana potions for a few extra CYDSTEPPs, but that wouldn't be any fun.
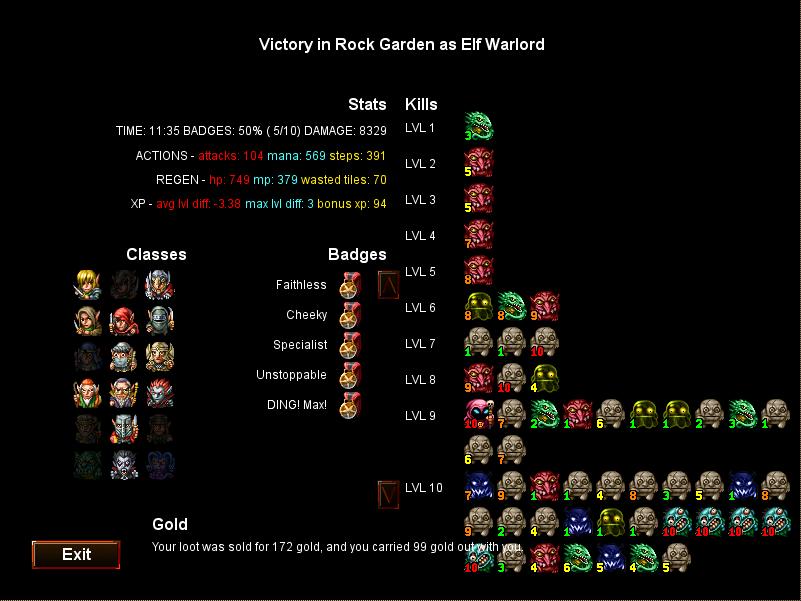
Well, I never did enter the subdungeon until after beating the boss and reaching level 10. It turned out to be the zombie subdungeon. There's [i]lots[/i] of space to explore down there, so I had a lot more leeway that I thought I did. I end up triggering the trap down there for fun, and had to use a mana potion to get out, but hey no biggy ;-)
One thing to notice is – aside from a handful of level 1's I needed to knock out during my poison antics – I was always fighting higher-level monsters until I'd beaten the physical-resist boss. This allows me to completely ignore the penalty of the Really Big Sword, all while vastly increasing my damage output against wraiths, goo blobs, and the guardian of stone. After defeating all the high-level monsters with physical resists, I convert the sword and can go on a rampage 1-hit killing weaker foes.
