Holy Ground
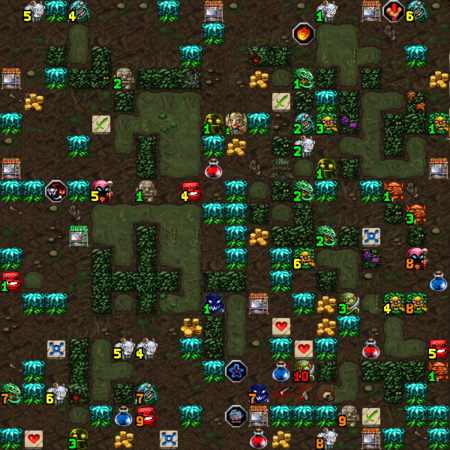
The Holy Ground dungeon is the ![]() Paladin gold challenge. It's a unique dungeon using the southern (swamp) tile-set.
Paladin gold challenge. It's a unique dungeon using the southern (swamp) tile-set.
Preparations
None allowed.
Resources Available
The dungeon will always have the ![]() BYSSEPS and the standard
BYSSEPS and the standard ![]() BURNDAYRAZ glyphs, and has regular shops. There are no subdungeons. There is one altar to
BURNDAYRAZ glyphs, and has regular shops. There are no subdungeons. There is one altar to ![]() The Earthmother.
The Earthmother.
Special Rules
None.
Monsters
All unlocked monsters plus:
![]() Naga: Weakening Blow
Naga: Weakening Blow
Boss
The boss is Ssseth ( ![]() Naga icon, Attack 90, Health 570, Weakening Blow, Physical Resist 95%, Magic Resist 95%).
Naga icon, Attack 90, Health 570, Weakening Blow, Physical Resist 95%, Magic Resist 95%).
Strategy
The recommended race: ![]() Gnome or
Gnome or ![]() Halfling.
Halfling.
The high resistances of the boss - as well as the fixed deity choice - makes this dungeon rather difficult to win consistently. By going in with the ![]() Gnome Paladin, you have an outstanding Mana spike against the boss, as the combination of
Gnome Paladin, you have an outstanding Mana spike against the boss, as the combination of ![]() Clearance (and
Clearance (and ![]() Plantation) plus your Mana Potions allows for an easy 100-150 Mana for the final fight. If you choose the
Plantation) plus your Mana Potions allows for an easy 100-150 Mana for the final fight. If you choose the ![]() Halfling Paladin, your spike is a bit more balanced, with a little bit more Health at the expense of some Mana.
Halfling Paladin, your spike is a bit more balanced, with a little bit more Health at the expense of some Mana. ![]() Gnome offers a bit more versatility as you can switch over to
Gnome offers a bit more versatility as you can switch over to ![]() BURNDAYRAZ more easily, but
BURNDAYRAZ more easily, but ![]() Halfling offers a bit more resilience going in.
Halfling offers a bit more resilience going in.
If you can couple your spike with a level-up, you should have ample resources to battle Ssseth. However, it will become a critical element to reduce his resistances. Chaining BYSSEPS and HALPMEH and/or Health Potions will wear him down, although this is fairly Mana intensive, plus the layers of Weakness he inflicts makes meaningfully damaging him harder towards the end. So either purchase a Fortitude Tonic midway through, or abandon melee once his resistances are below 50% and chain BURNDAYRAZ for the kill. The ![]() Crystal Ball seems likely to spawn, so take advantage of this and purchase this awesome boost to your Mana spike; if you get lucky, and see a
Crystal Ball seems likely to spawn, so take advantage of this and purchase this awesome boost to your Mana spike; if you get lucky, and see a ![]() Piercing Wand, you should have an even easier time finishing him (especially if you're a Gnome). Still, this dungeon will remain a bit of a hit-or-miss, because you will most likely need that little extra push from items appearing in the stores to beat the boss.
Piercing Wand, you should have an even easier time finishing him (especially if you're a Gnome). Still, this dungeon will remain a bit of a hit-or-miss, because you will most likely need that little extra push from items appearing in the stores to beat the boss.
In any case, even before starting to worship ![]() The Earthmother, do not kill too many of the
The Earthmother, do not kill too many of the ![]() Mysterious Murkshades; remove only as many as you need to for moving around. Each plant will translate to a precious Mana point in the endgame, and you will most likely use up most (or all) of them during the boss fight.
Mysterious Murkshades; remove only as many as you need to for moving around. Each plant will translate to a precious Mana point in the endgame, and you will most likely use up most (or all) of them during the boss fight.
